
How to Add a WhatsApp Chat Button to Tilda
Someone with a two-second question will rarely type it into a contact form. Below you can add WhatsApp chat button to Tilda using ElectricBlaze Popup Chat, a floating corner icon that opens WhatsApp and, if you like, Telegram, Messenger, Viber, Signal or Discord.
How the button differs from a form block
Popup Chat does not occupy a place in the page flow. It hovers over the content near a window corner; clicking it unfolds your greeting along with the messenger links. On this builder that means two things:
- The code goes into an Embed HTML code block (T123), which runs only when the project is on Personal or Business.
- To appear on every page, the block belongs in the site footer, not on a single page.
Keep your WhatsApp phone number handy, written with the country code, and register a free ElectricBlaze account, the same one used for feeds, players and shop widgets.
Step 1: Fill in the chat details
Channels and styling are described on the corner chat icon’s feature page. Setup:
-
Enter a.electricblaze.com with your login or a new free one.
-
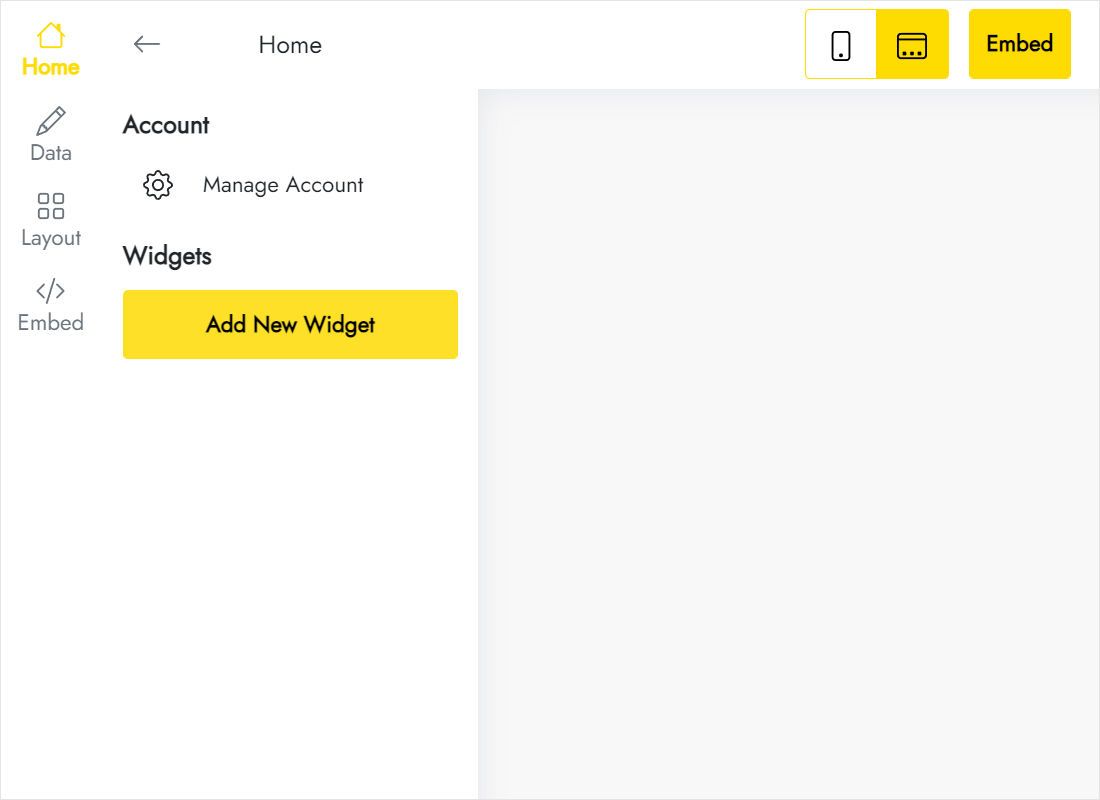
The Popup Chat type is available under Create New Widget.
-
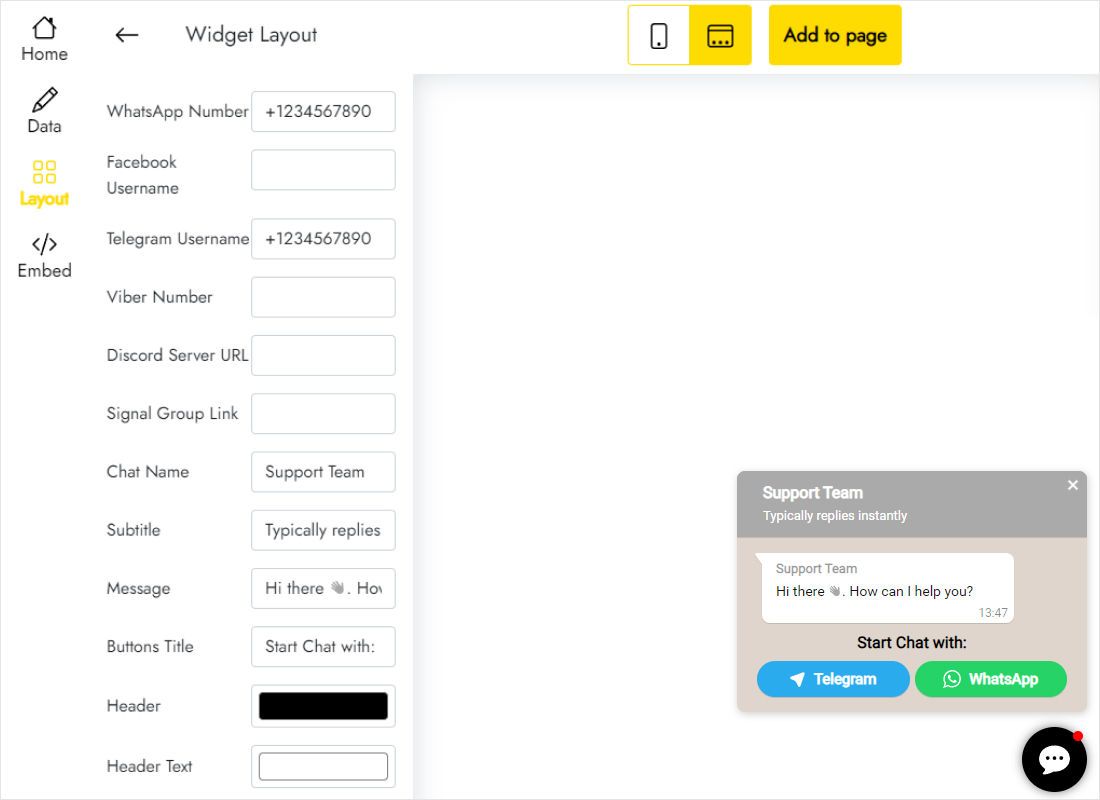
On Layout, enter the WhatsApp number, add a Telegram username, Viber number, Signal group link or Discord server URL where relevant, and write the chat name and greeting.
-
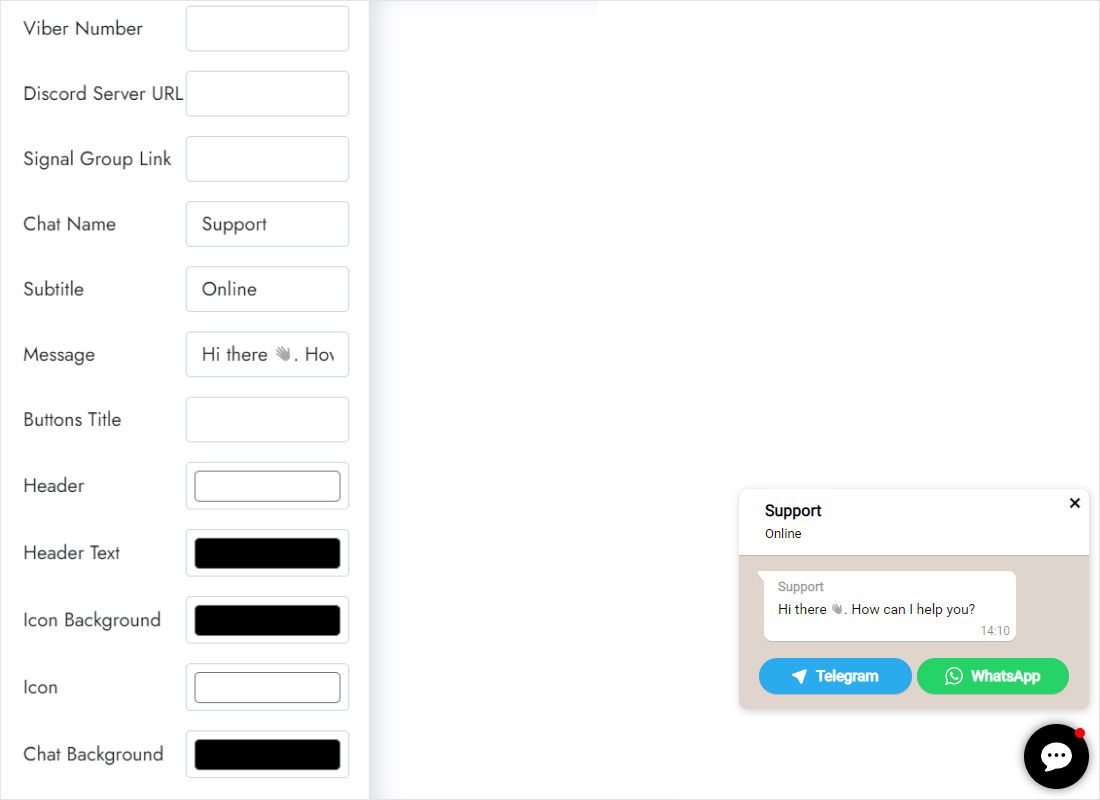
Further down, choose colours for the header, its text, the icon and the chat background.
-
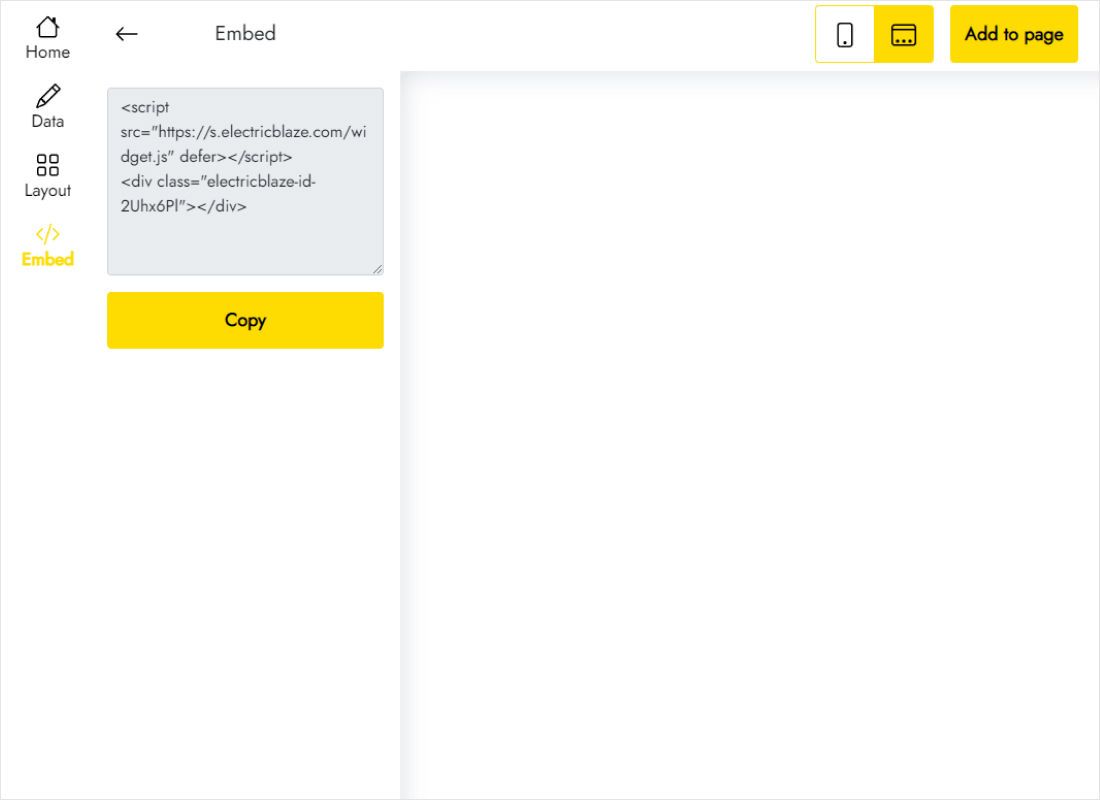
Grab the snippet from the Add to website dialog.
Step 2: Load it from the site footer
If your site already has a footer page, skip the first point.
- Create a page for the footer, then go to Site Settings → Header and Footer and assign it as the footer.
- Open that footer page and insert block T123 from the Other category, below any existing footer blocks.
- Under Content insert the chat snippet, then leave via Save & Close.
- Republish all pages; a footer change reaches a page only when that page is published again.
- Send yourself a test WhatsApp message from both a phone and a laptop.
Want the button on one landing page only? Add the T123 block to that page instead of the footer. The icon still floats, because the block does not wrap the code in a frame.
Avoiding clashes at the bottom of the screen
Native feedback widgets
Native messenger and callback widgets exist too (blocks BF901–BF905) and chat integrations such as JivoChat in T133. Below a 980-pixel screen width those are pinned to the lower edge. Running one of them next to Popup Chat gives visitors two competing icons, so keep only one contact widget.
Cookie notice
With a cookie block such as T657 or T972 on the site, load it in a private window and make sure the notice does not hide the WhatsApp icon before it is dismissed.
Pages without the button
A checkout or thank-you page can go without the chat. In Page Settings → Additional tick “Don’t use footer for this page” and republish that page; note that the rest of the footer disappears there too.
WhatsApp button on Tilda: FAQ
Will the icon show while my project is on the free tariff?
No. T123 code is switched off there, so the icon appears only after moving the project to Personal or Business.
Can I paste the code into the HEAD section instead?
The HEAD field is meant for tags like analytics. For a visible, floating widget this guide recommends a T123 block in the footer, which loads it on every page.
Where do the WhatsApp messages arrive?
Directly in your WhatsApp app on the number you entered. The widget only opens the conversation; it does not store messages.
What if my WhatsApp number changes?
Update it on the Layout tab and save the widget. The footer block keeps its code untouched, so nothing needs republishing.
Keep exploring
The Popup Chat overview, the general code instructions and the remaining widgets:
Add a WhatsApp icon to your Tilda site
Number in, colours picked, snippet in the footer: that is the whole job, and it starts free.
Create a widget